Introduction:
In an increasingly interconnected world, developing applications that can effectively serve users from diverse linguistic backgrounds is vital. Localization is the process of adapting an application to a specific language, region, or culture, and it plays a crucial role in providing a personalized user experience. ASP.NET offers powerful tools for localization, and one of the key components is the IStringLocalizer interface. In this comprehensive guide, we will explore how to leverage IStringLocalizer with resource files to achieve effective localization in your ASP.NET application.
Understanding Localization in ASP.NET
Localization involves translating user interface elements, such as labels, messages, and error notifications, into different languages to suit the target audience. ASP.NET provides robust support for localization through the IStringLocalizer interface. This interface allows you to retrieve localized strings based on the user’s language preference, making it easier to develop applications that can cater to a global audience.
Using Resource Files for Localization
Resource files are commonly used in ASP.NET for storing and managing localized strings. These files are XML-based and provide a convenient way to organize and retrieve localized content. In the context of localization, resource files contain key-value pairs, where the keys represent unique identifiers for the localized strings, and the values hold the translated strings for different languages.
Setting Up Resource Files
To begin the localization process using IStringLocalizer with resource files, follow these steps:
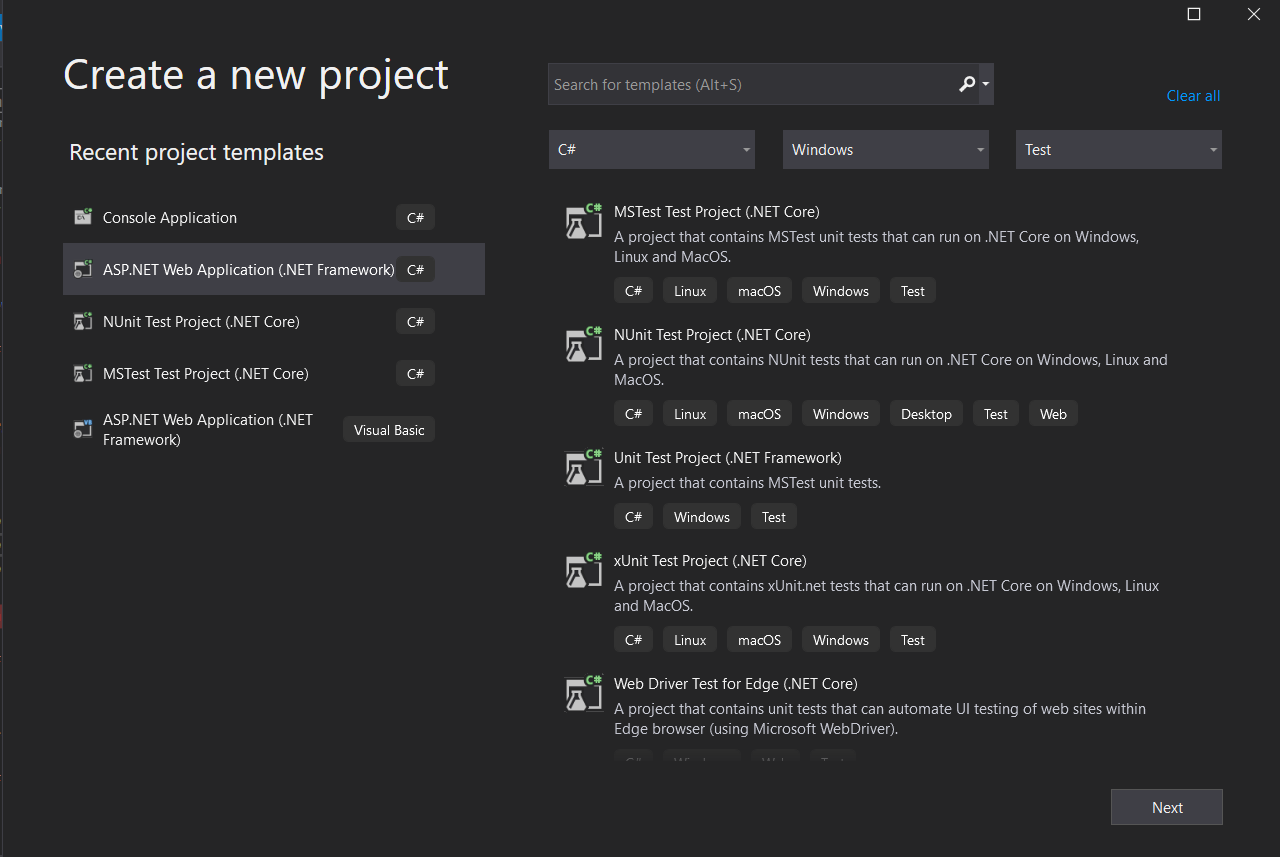
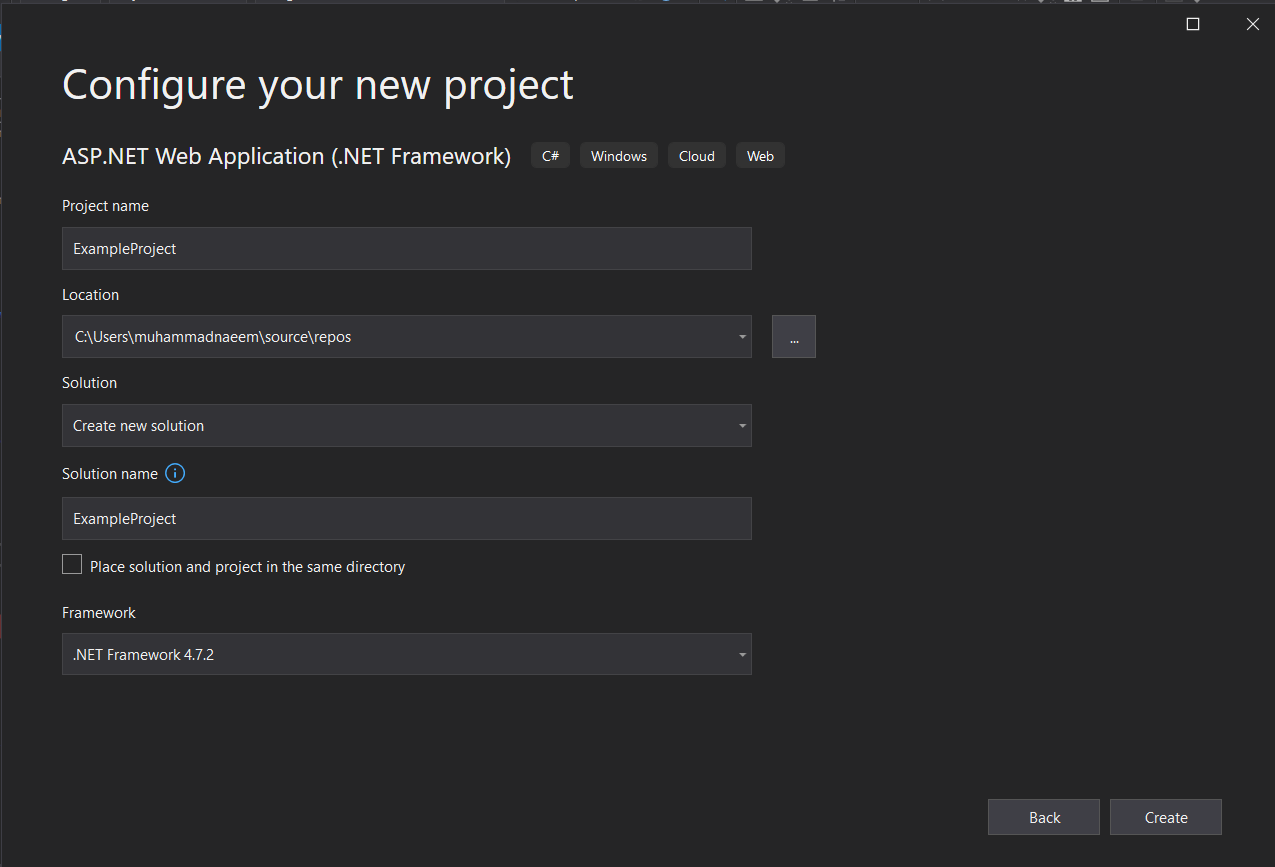
Start by creating a new ASP.NET project in Visual Studio.
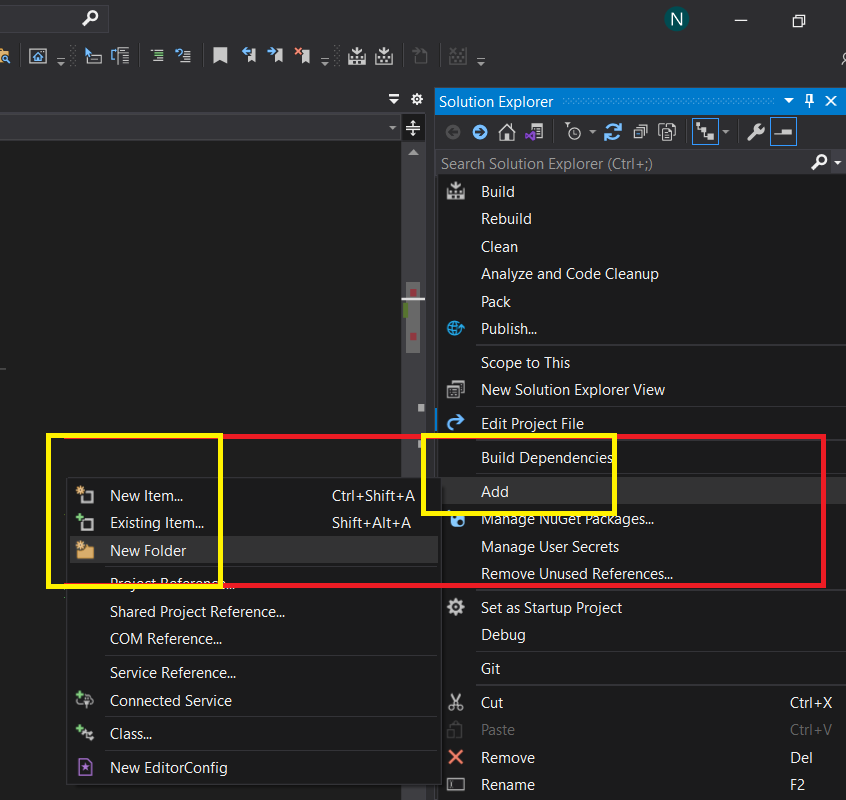
Step 1: Create a Folder for Resource Files Create a folder named “Resources” in your ASP.NET project. This folder will contain the resource files for different languages.
Step 2: Add Resource Files Inside the “Resources” folder, add a resource file for the default language, typically English. For example, create a file named “Messages.resx”. This file will contain the default set of localized strings.
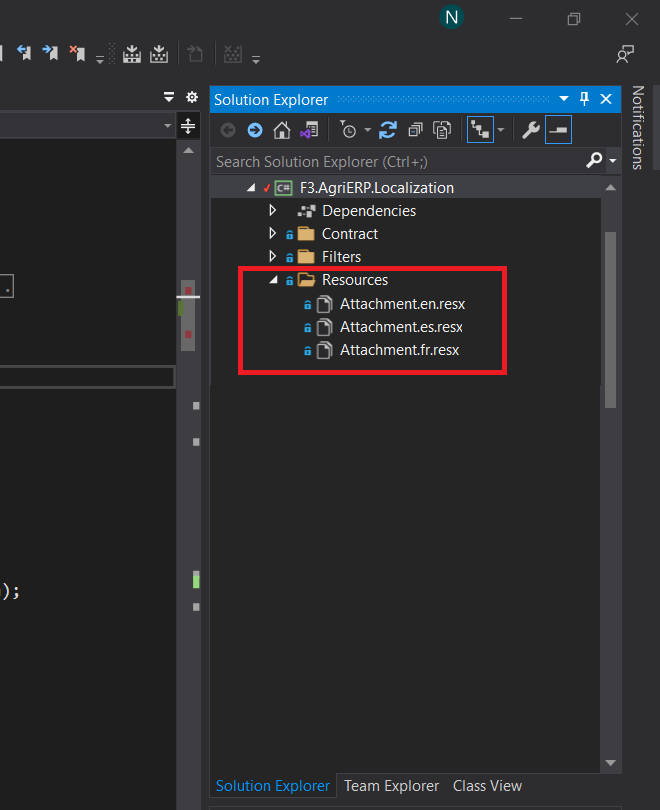
Step 3: Add Additional Resource Files for Other Languages To support additional languages, create separate resource files for each language. For instance, create a file named “Messages.fr.resx” for French, “Messages.es.resx” for Spanish, and so on as shown in above image. Each resource file should contain the same set of keys as the default resource file, but with values corresponding to the translated strings in the respective language.
Injecting IStringLocalizer into Your Code: Once the resource files are set up, you can inject an instance of IStringLocalizer into your ASP.NET code. This allows you to access the localized strings based on the user’s language preference.
Step 1: Register IStringLocalizer in Startup.cs Open the Startup.cs file and locate the ConfigureServices method. Add the following code to register the IStringLocalizer service:
services.AddLocalization(options => options.ResourcesPath = "Resources");

services.AddMvc()
        .AddViewLocalization()
        .AddDataAnnotationsLocalization();
In this code snippet, we specify the path to the resource files as “Resources”. Feel free to adjust this path according to your project structure.
Step 2: Inject IStringLocalizer into Your Code Inject an instance of IStringLocalizer<T> into your controller or other components, where T represents the type of the resource file you want to access.
For example:
private readonly IStringLocalizer<HomeController> _localizer;

public HomeController(IStringLocalizer<HomeController> localizer)
{
    _localizer = localizer;
}

public IActionResult Index()
{
    string greeting = _localizer["WelcomeMessage"];
    return View(greeting);
}
In the above code snippet, we inject IStringLocalizer<HomeController> into the HomeController and use it to retrieve the localized string for the key “WelcomeMessage”. The IStringLocalizer interface provides an indexer that allows you to access localized strings using their corresponding keys.
Displaying Localized Strings in Views: You can use the @ symbol followed by the string key within the localization tag helper to display localized strings in your views.
For example:
<h1>@_localizer["WelcomeMessage"]</h1>
In this code snippet, the localization tag helper retrieves the localized string for the key “WelcomeMessage” using the injected IStringLocalizer instance and displays it on the web page.
Conclusion
Localization is critical to application development, allowing you to reach a wider audience and provide a tailored user experience. With the IStringLocalizer interface and resource files in ASP.NET, you can easily implement localization in your applications. By following the steps outlined in this guide, you can effectively leverage IStringLocalizer with resource files to localize your ASP.NET application and cater to users from different linguistic backgrounds.