What is Business Central?
Business central (formerly NAV) is an ERP solution of Microsoft used for small and mid-sized businesses that helps to manage processes by automating and streamlining business operations.
How to setup Business Central?
Business central can be setup in two different ways
- Cloud Hosted
- On-Premises
In this blog, we are going to share how to set up business central in your local computer (on-premises).
Install and setup Business Central(on-premises):
Download and Install:
- To download the setup, go to https://www.microsoft.com/en-us/download/details.aspx?id=104062
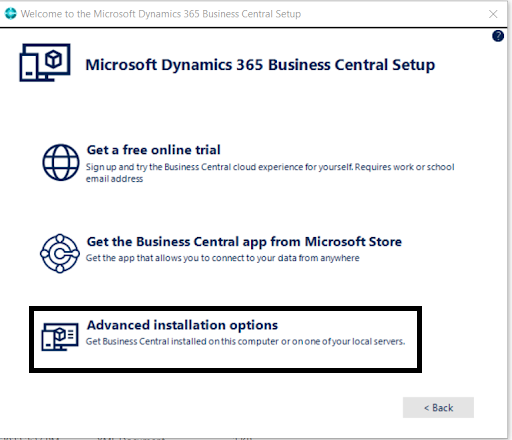
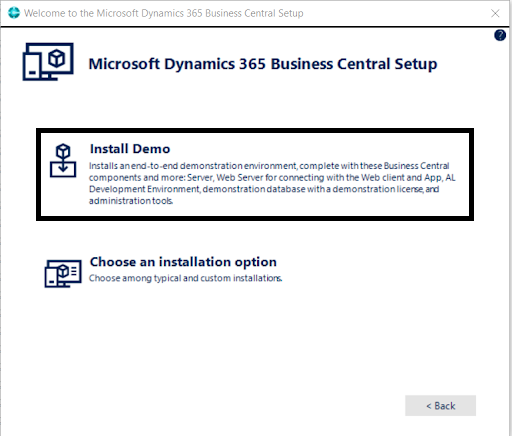
- When setup downloaded, unzip the folder and run setup.exe file
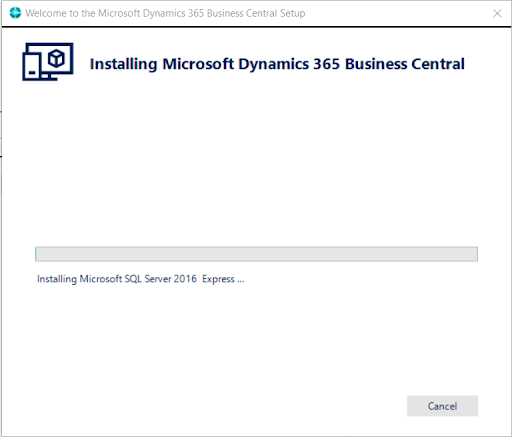
- Installation complete
Configuration
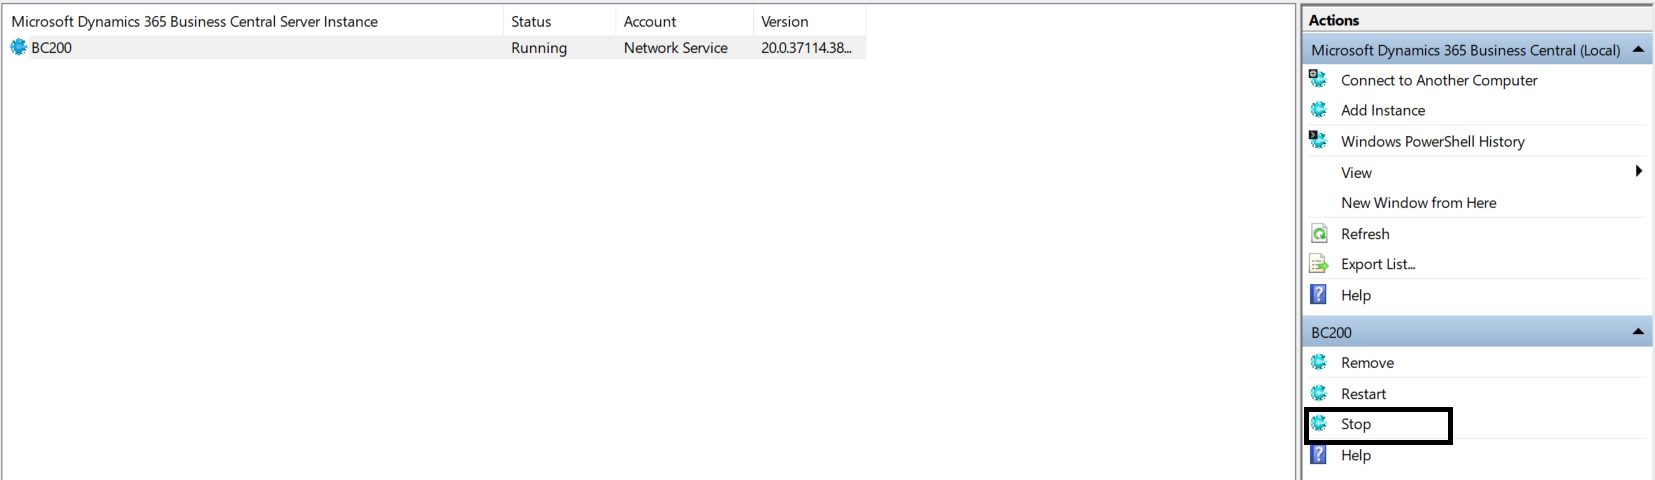
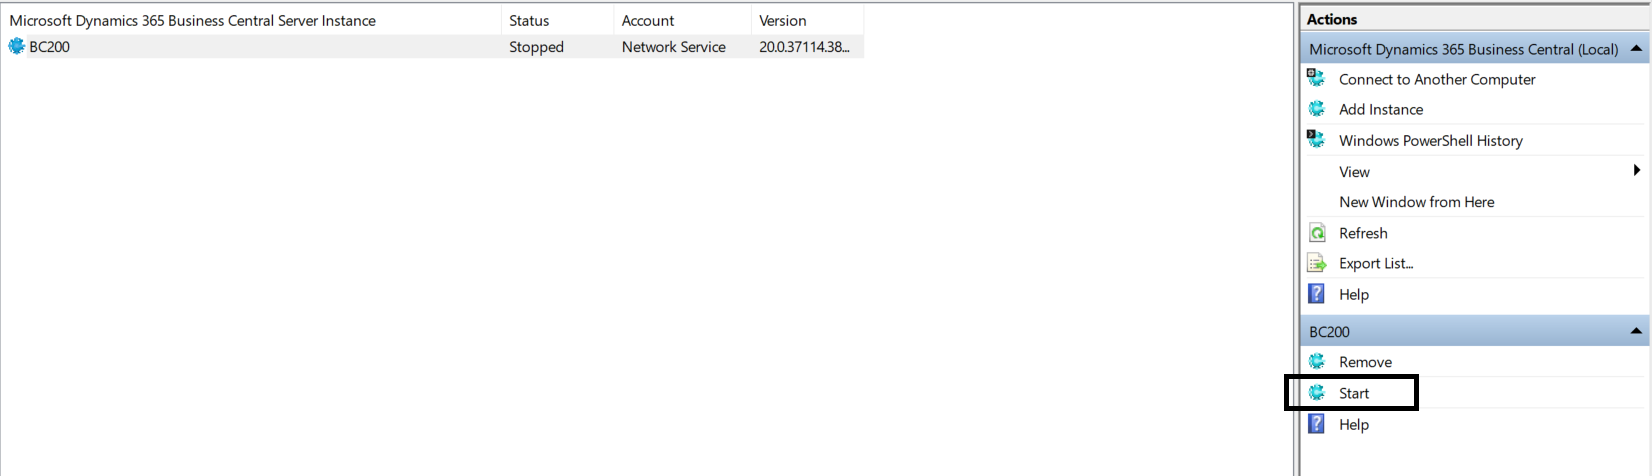
- Search ‘Business Central Administration’ in search bar of computer

- Click on BC200 and stop the service
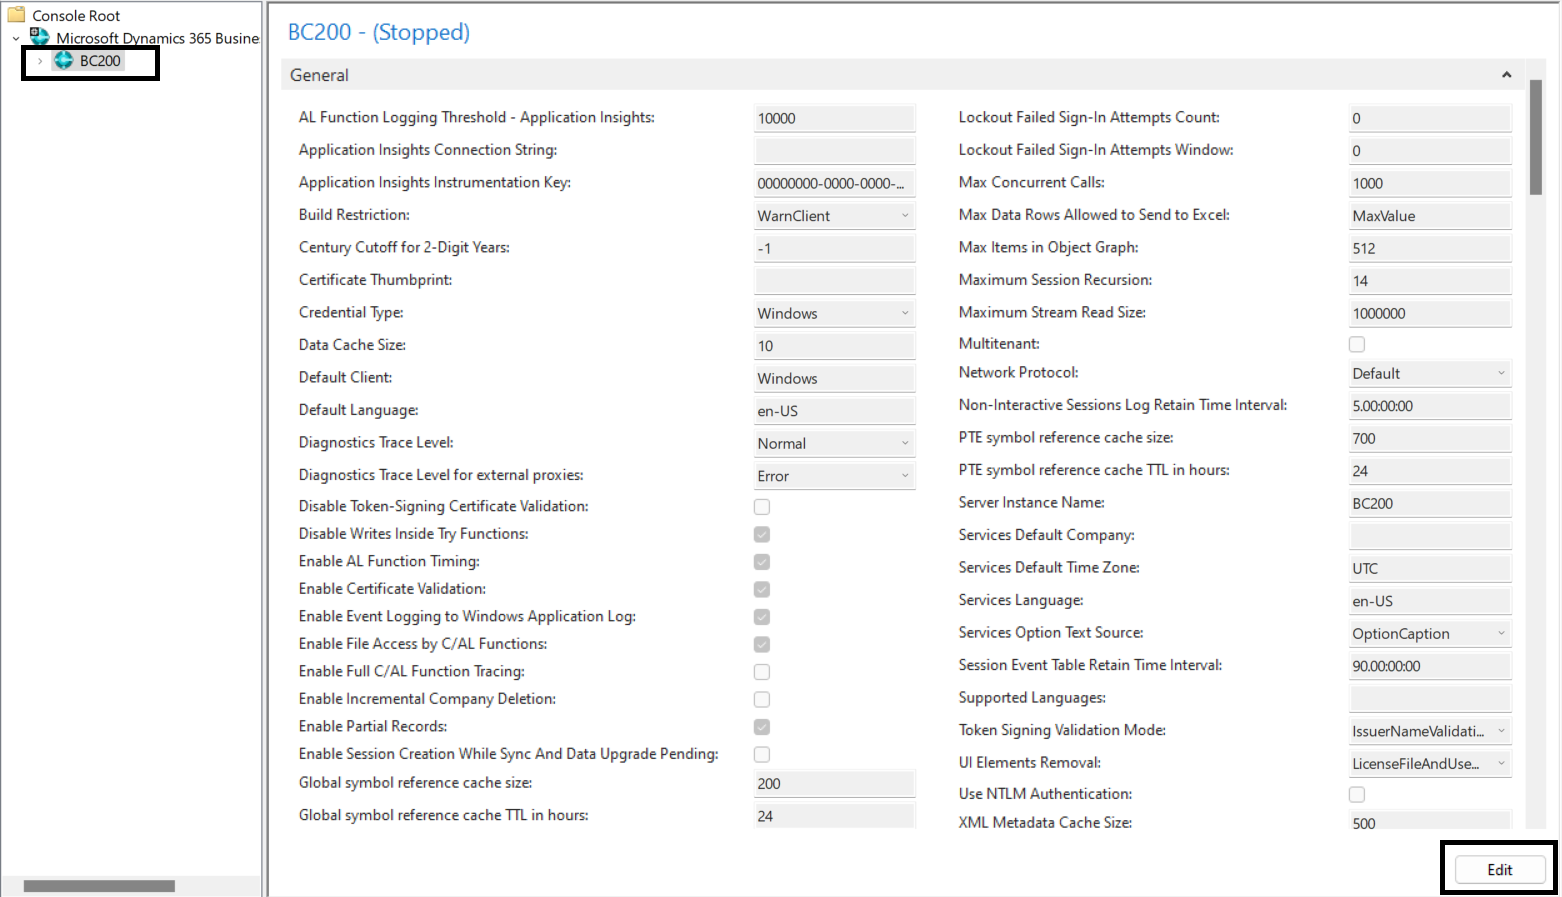
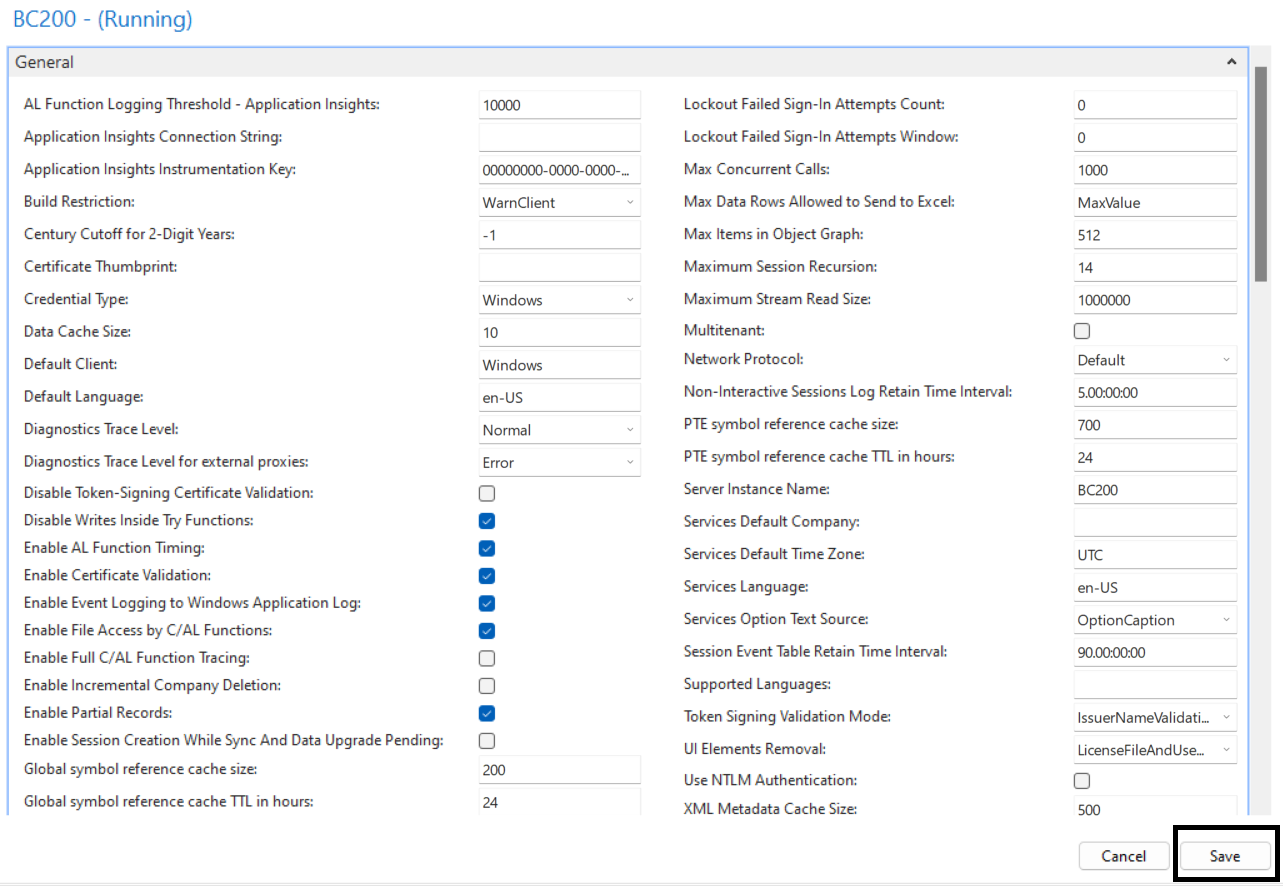
- Click on BC200 and ‘Edit’
- In SOAP Services tab, check ‘Enable SOAP Services’ checkbox

- In NAS Services tab, check ‘Enable Debugging’ checkbox

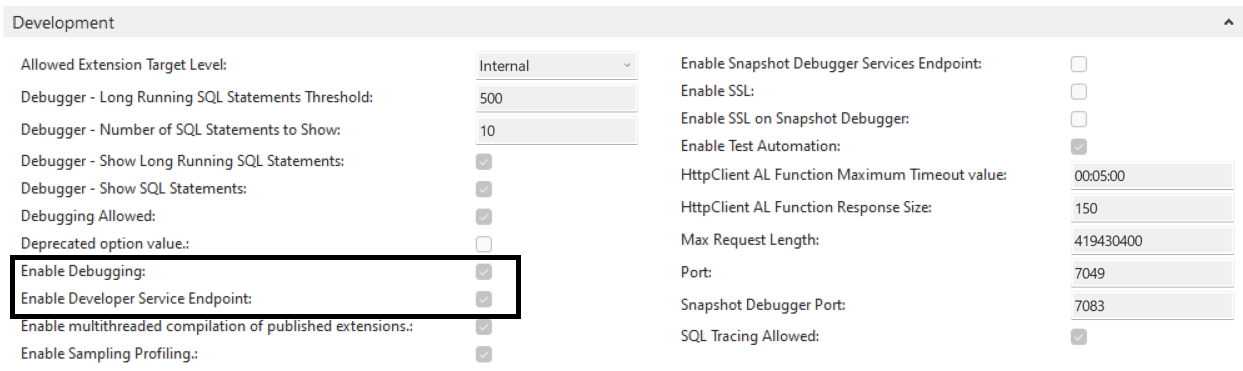
- In Development tab, check ‘Enable Debugging and Enable Developer Service Endpoint’ checkbox
- Save these edited changes
- Start the services again
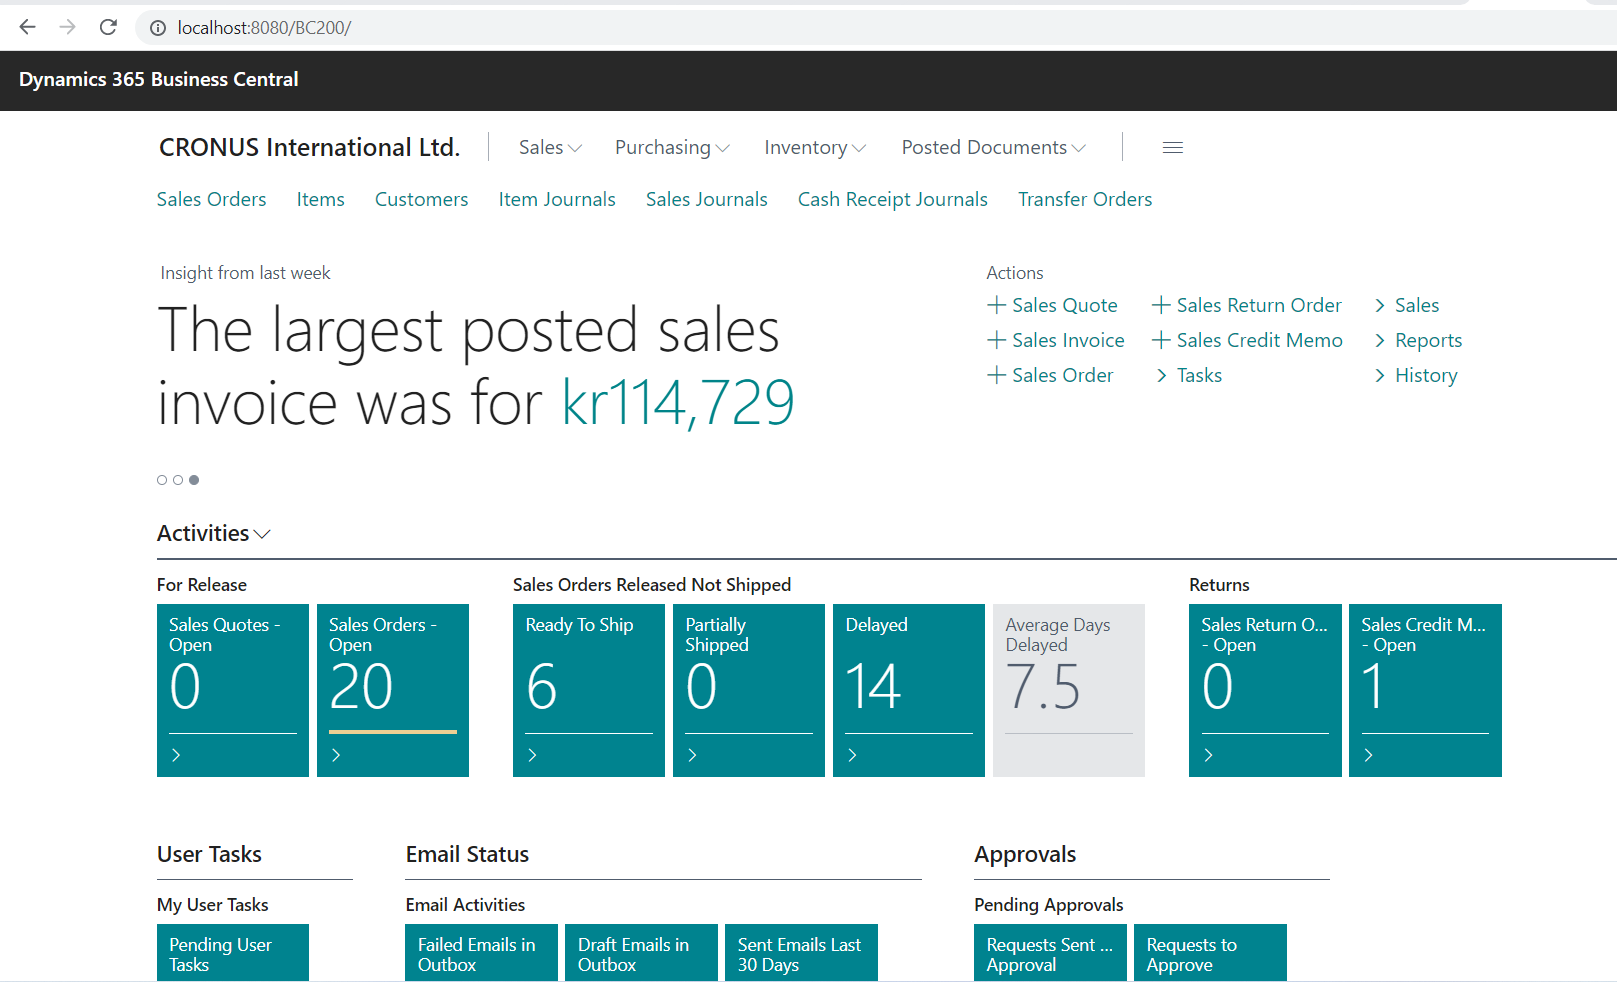
Browse this URL http://localhost:8080/BC200/. You have successfully set up business central on your local computer. (Verify the port of this URL in IIS)
Setup development environment for Business Central
Prerequisites:
First step is to install and setup on-premises business central as mentioned above and should have visual studio code and AL extension.
Install and setup VS Code:
- If you do not have visual studio code, download it from https://visualstudio.microsoft.com/downloads/
- Run the setup and install it in computer
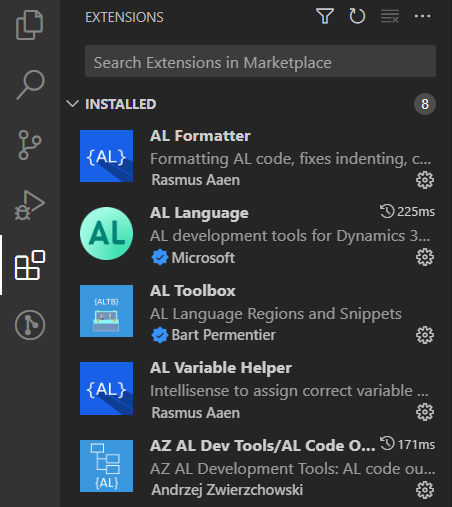
- Install all extensions in VS code to program in AL language. Make sure to have all these extensions referred in below screenshot
First Project in AL
Press Ctrl+shift+P and write ‘AL: Go!’ A new project created in a specified folder.
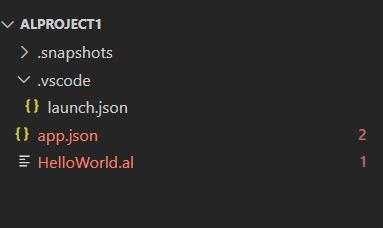
Launch.json and app.json are two primary files responsible for all the configurations of the project. Edit launch.json file referring the below screenshot
{
    "version": "0.2.0",
    "configurations": [
        {
            "name": "Your own server",
            "request": "launch",
            "type": "al",
            "environmentType": "OnPrem",
            "server": "http://localhost",
            "serverInstance": "BC200",
            "authentication": "Windows",
            "startupObjectId": 22,
            "startupObjectType": "Page",
            "breakOnError": "All",
            "launchBrowser": true,
            "enableLongRunningSqlStatements": true,
            "enableSqlInformationDebugger": true,
            "tenant": "default"
        }
    ]
}
Now, download the symbols to get all the system and extended code of Microsoft. Press Ctrl+Shift+P and write ‘AL: Download symbols’.
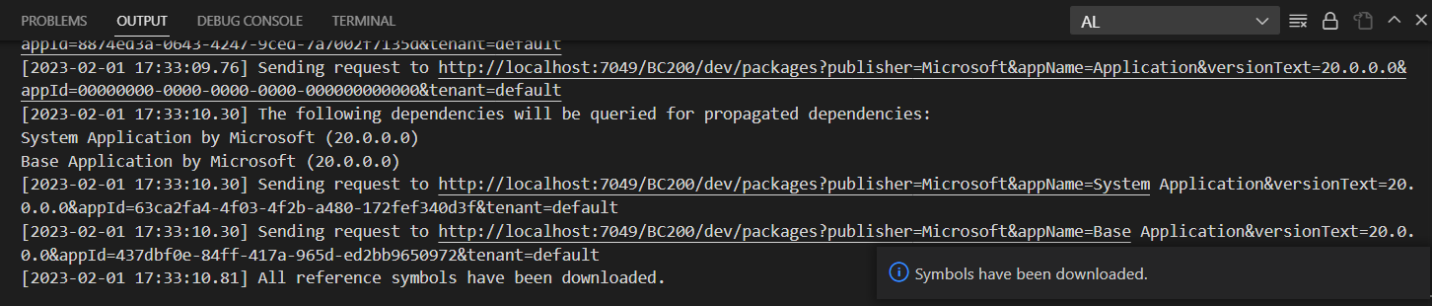
When symbols successfully downloaded publish the app using AL: Publish without debugging.
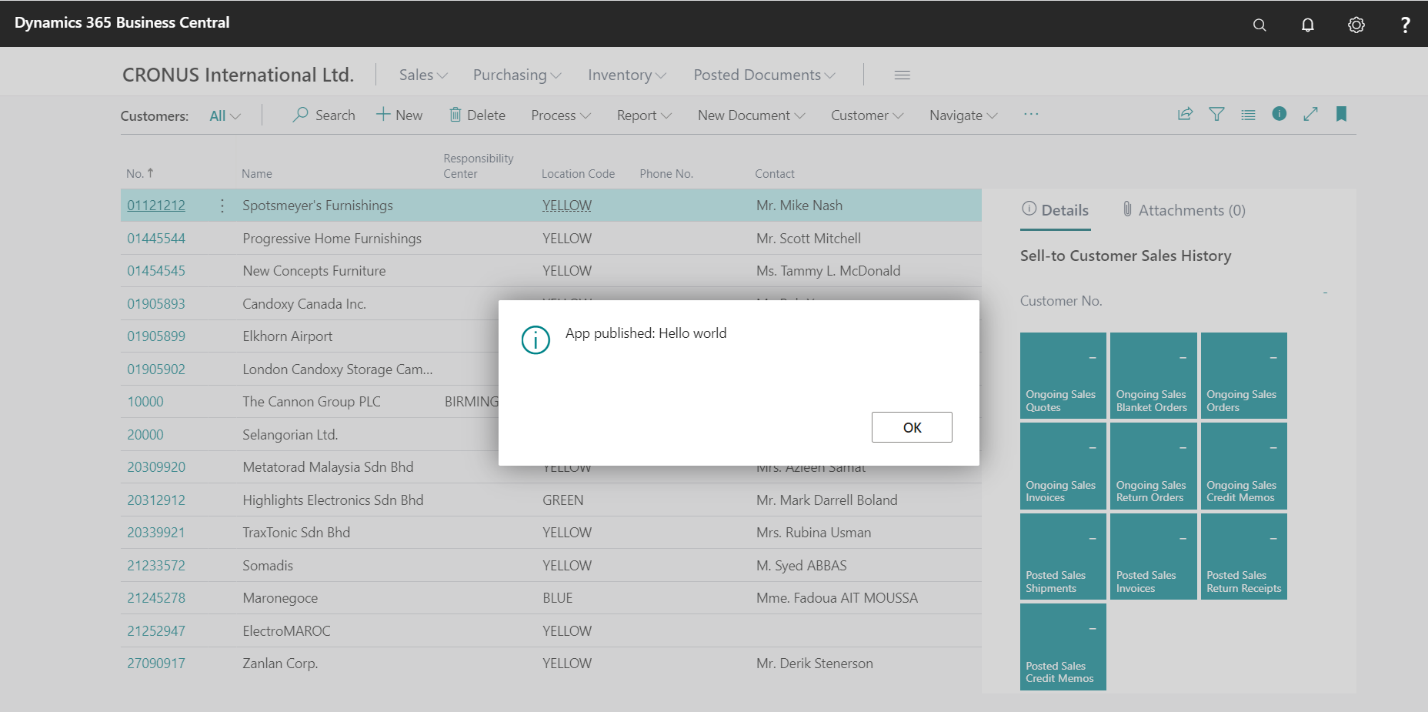
Congratulations!! You have created your first app in Business Central.