In Business Central we have multiple reports layout for different modules such as Sales-Quote, Sales-Order, Purchase-Order, Sales-Shipment, Sales-Invoice and many more. Today we will focus on Sales-Invoice, we will understand how to create report layout for invoices and design it according to our need.
Create and Design Custom Report Layout for invoices:
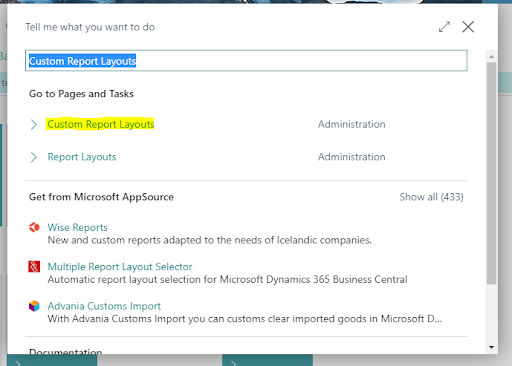
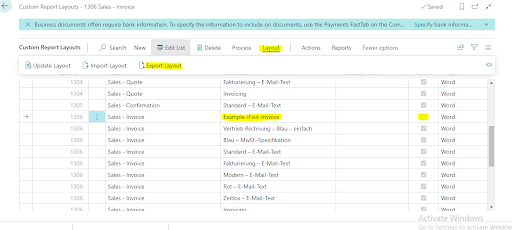
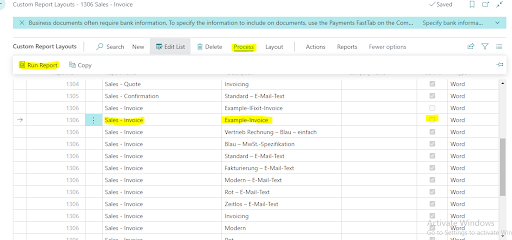
1) Go to Global search and search Custom Report Layouts and open it.
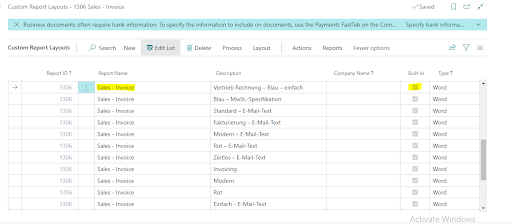
2) Search Sales-Invoice and try to locate built in Invoice template.
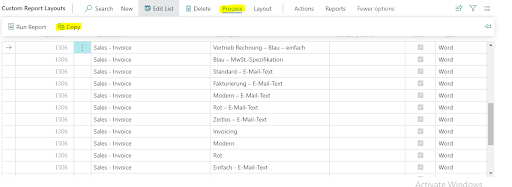
3) Go to process Tab and Select Copy option that will create a copy of selected invoice template.
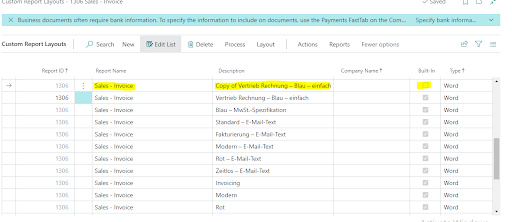
New Template will be looked like this, you can give appropriate description.
4) Now Export that Copied Template in your local Computer as follow.
It would be a word file.
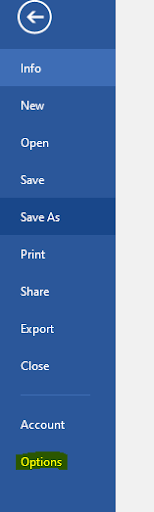
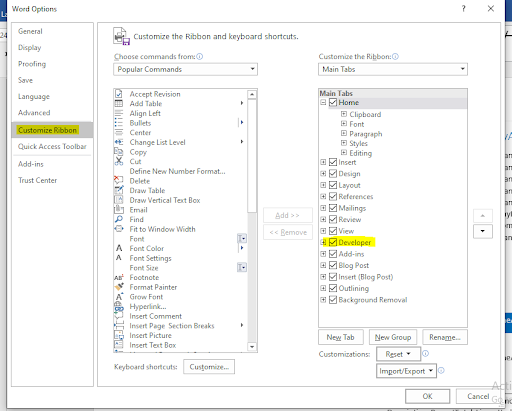
5) Open Downloaded Document, go to file -> options -> CustomizedRibbons -> Enable Developer option
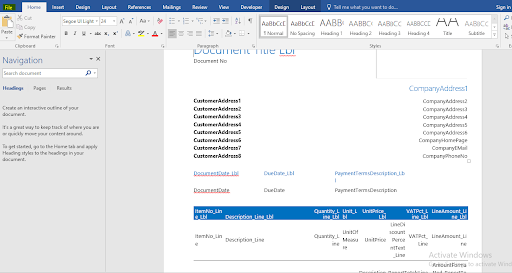
6) After developer option is enabled, A developer Tab at top would be visible, go to developer -> open XML Mapping Pane, after opening it a window from right side would pop out by name XML Mapping, use dropdown to select highlighted value in below snapshot.
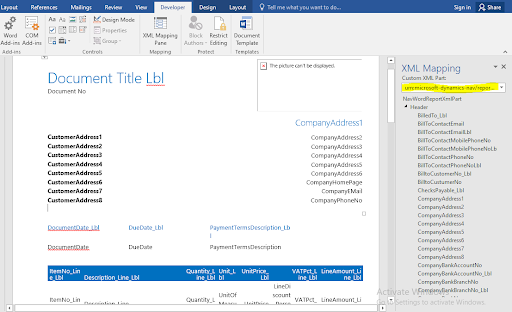
After expanding header we will see two types of fields, _lbl field that contain actual field name in salesInvoiceHeader and apart from that all other fields are value type which would be different for every sales-invoice.
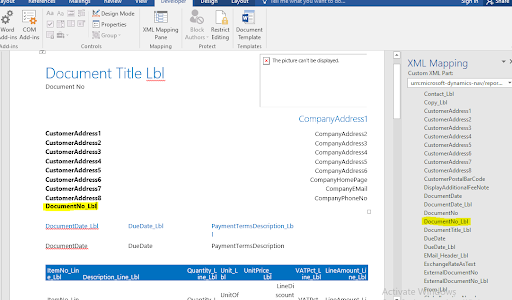
7) Let’s try to add new field with new value type and check if that works on invoice template or not.
We will add DocumentNo. Field and value on this example template.
First create a cell and keep your pointer there then from XML Mapping window go to DocumentNo_Lbl field, right click on it -> select Insert Content Control -> Select plain Text.
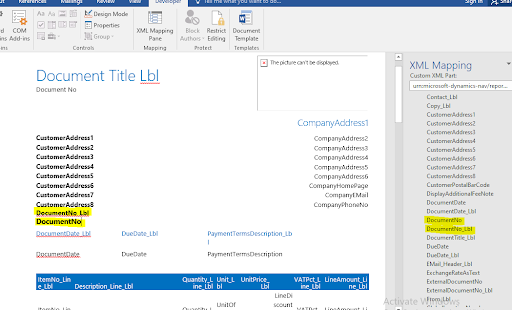
Do the same procedure with DocumentNo. Field which is actually a value of Document label.
Once designing is done, we are ready to import this document template into our Business Central environment.
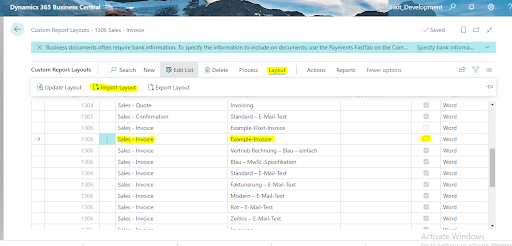
8) Now go back to Custom Report Layouts page, select Sales-Invoice row that we copied earlier then go to Layout option and select Import layout then select choose option and pick updated word Document from your local directory.
9) After import is done, we will preview our template and check if our changes are reflected or not.
For that select invoice we want to preview in our case it would be Example-Invoice then go to Process Tab and select Run Report.
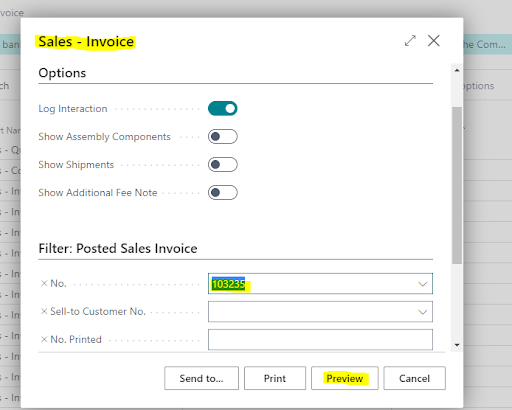
A new Sales-Invoice window will pop up, select any existing invoice for No. field and press Preview.
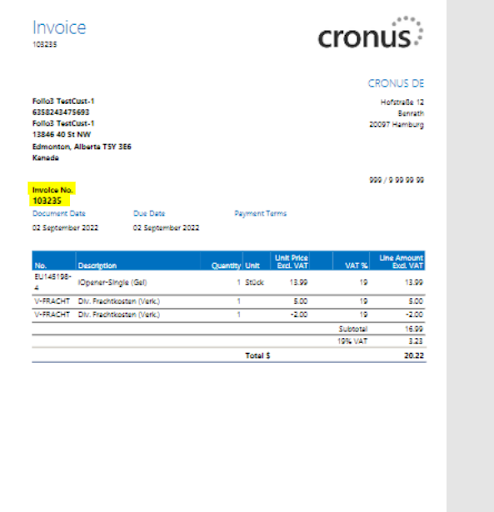
After preview, Invoice report would be generated which contain the changes we made to the document.
Using this procedure we can add any field in our invoice template or logos or static text according to our requirement.
Reference youtube video