Today we will learn how we can export Business Central Extension from one environment and deploy that same extension in another Business Central environment.
On paper it looks very simple that we need to export an extension from one environment and deploy it on another environment but the catch is whenever we export an extension from Business Central it gets downloaded in the form of a zip file while for deployment Business Central only accepts those extension files which are in .app format.
At the end of this blog we will be able to learn how zip files would be converted into .app files.
Deployment Steps
Below are the deployment steps:
- Export Extension from Business Central
- Create .app file from zip file (using VS code)
- Deploy .app file in Business Central
1. Export Extension from Business Central
In order to export our relevant extension, first we have to go to Extension Management using Global search.

Then select your desired extension and download source for this extension.
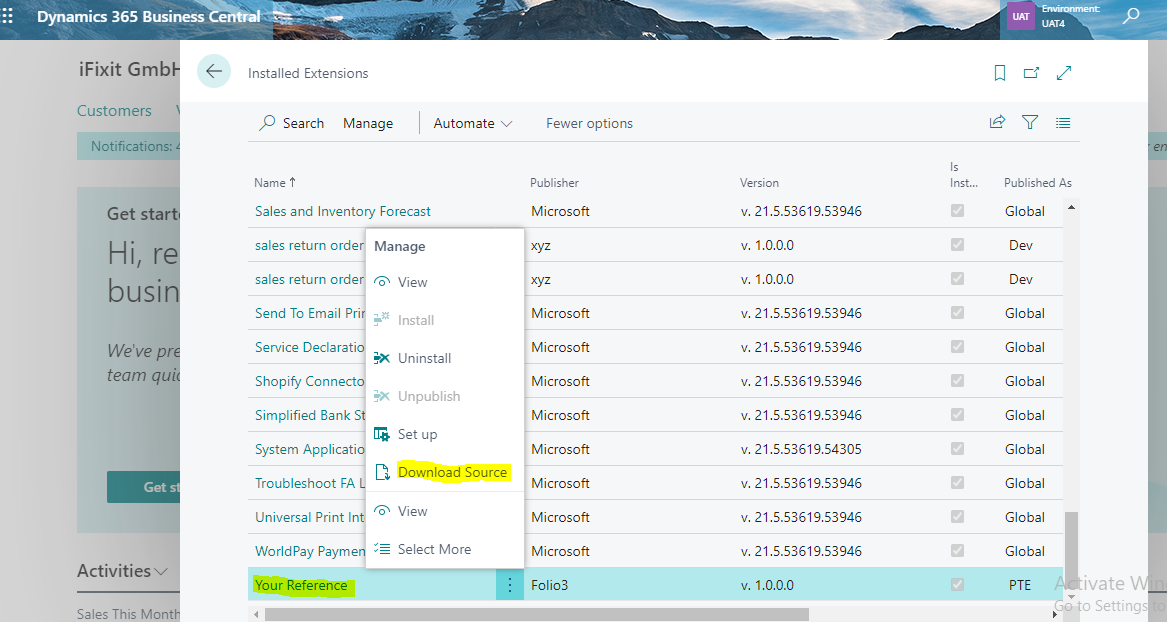
After selecting Download Source, the zip file will get downloaded in our local machine.
2. Convert .zip file to .app file (using VS code)
In order to create an .app file from a .zip file we need to have VS code installed in our system. Link to download VS Code (https://code.visualstudio.com/download). Make sure to have these VS code extensions installed.

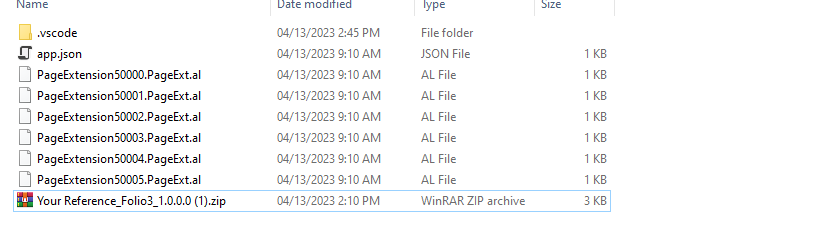
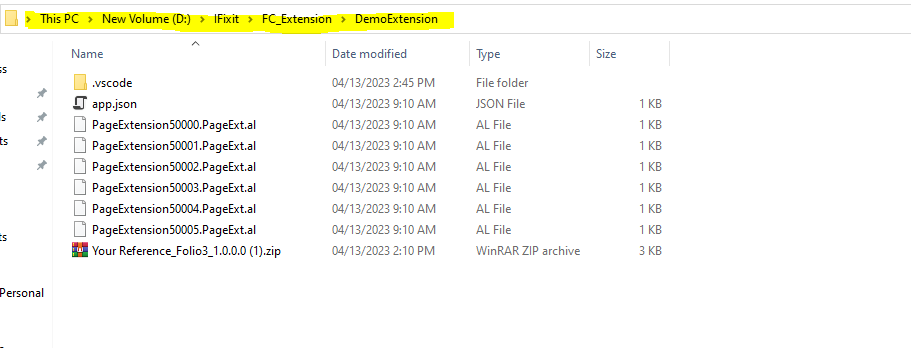
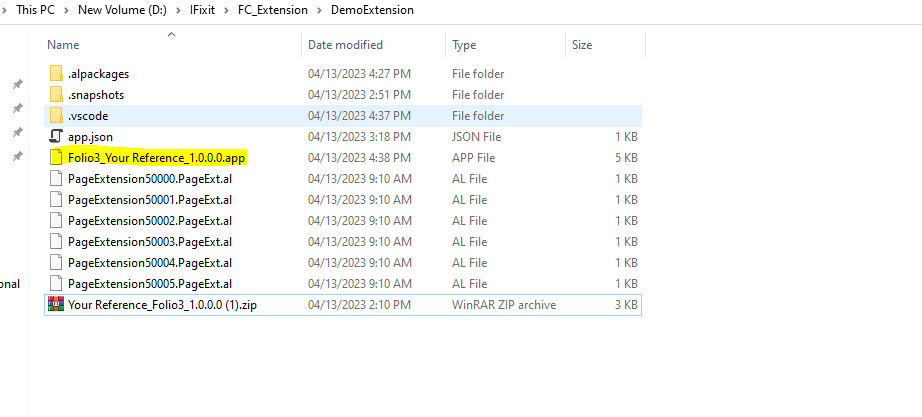
Now, place the downloaded .zip file in a separate folder and extract file. Extracted files will look like this:
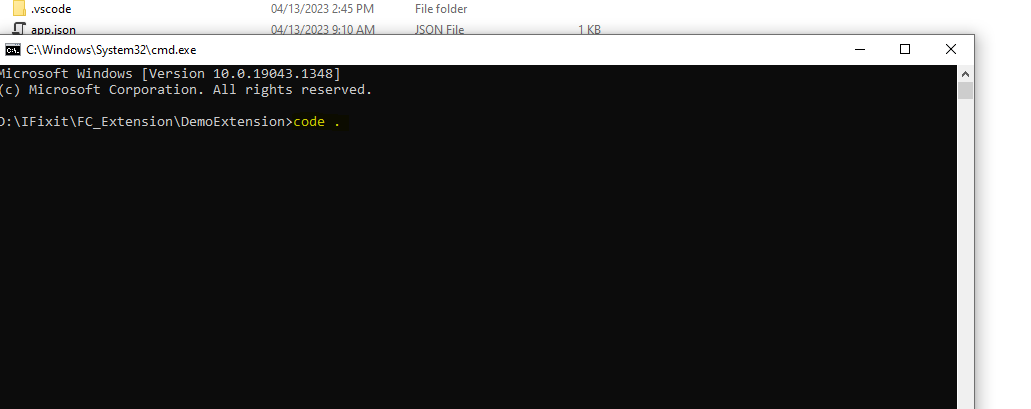
Open the highlighted path (extracted files path) in the command prompt.
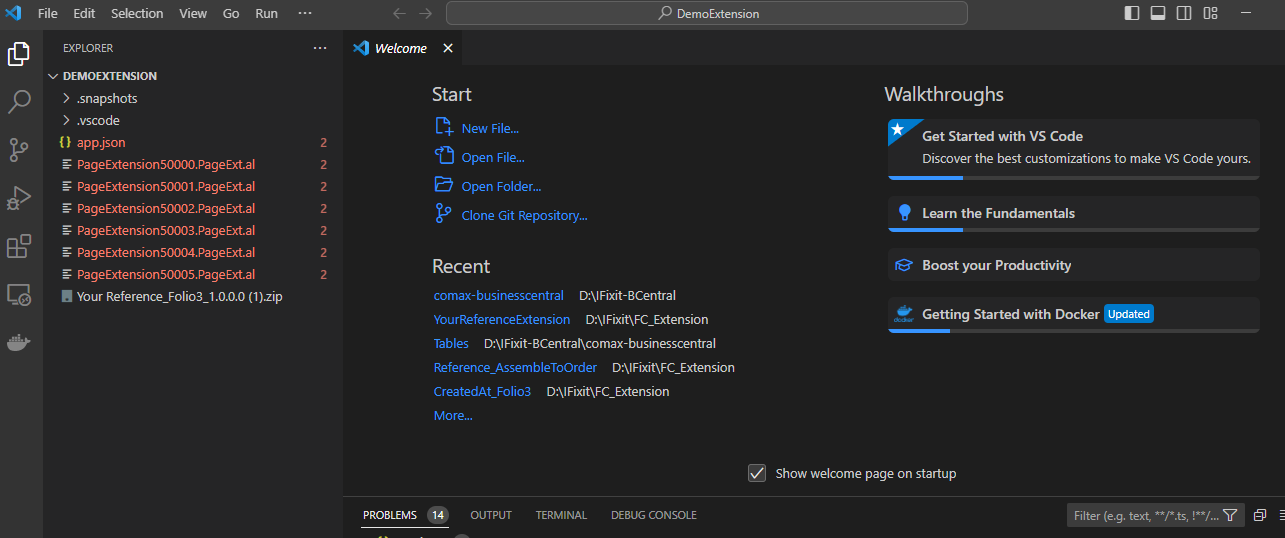
Then write “code .” in your command prompt and press enter, VS code instance will get opened which will contain all the files which we have in our current folder.
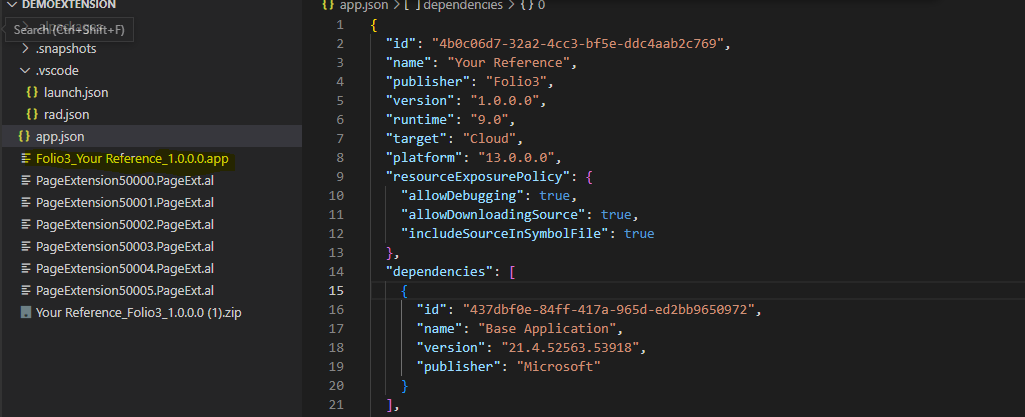
First we will do some code changes in the app.json file. Replace Platform version to “13.0.0.0”, after this change app.json will look like this:

After that we will do changes in launch.json, after changes launch.json will look like this:
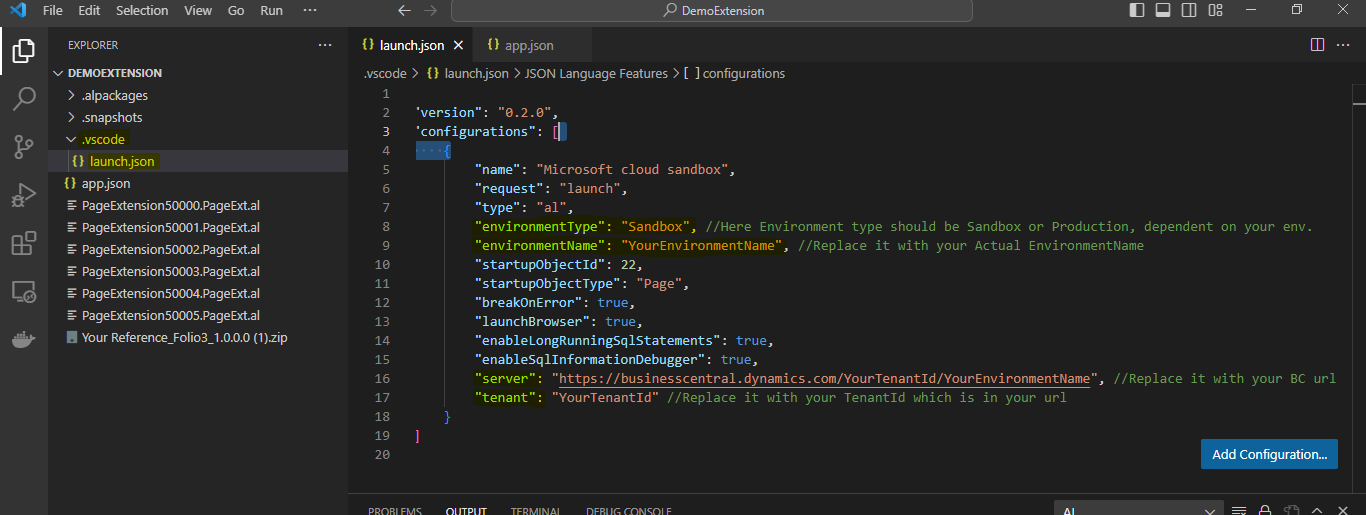
Here you have to replace above highlighted properties according to your environment from which you have exported the extension.
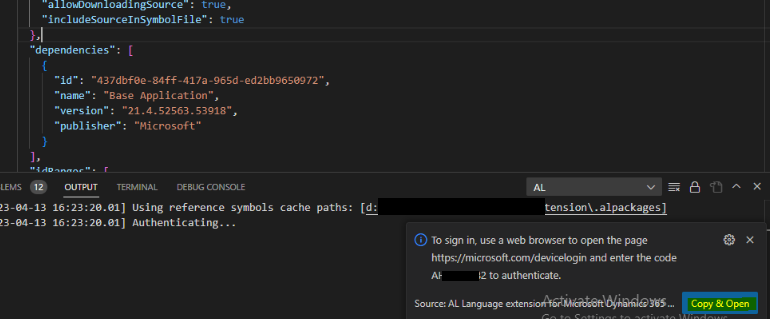
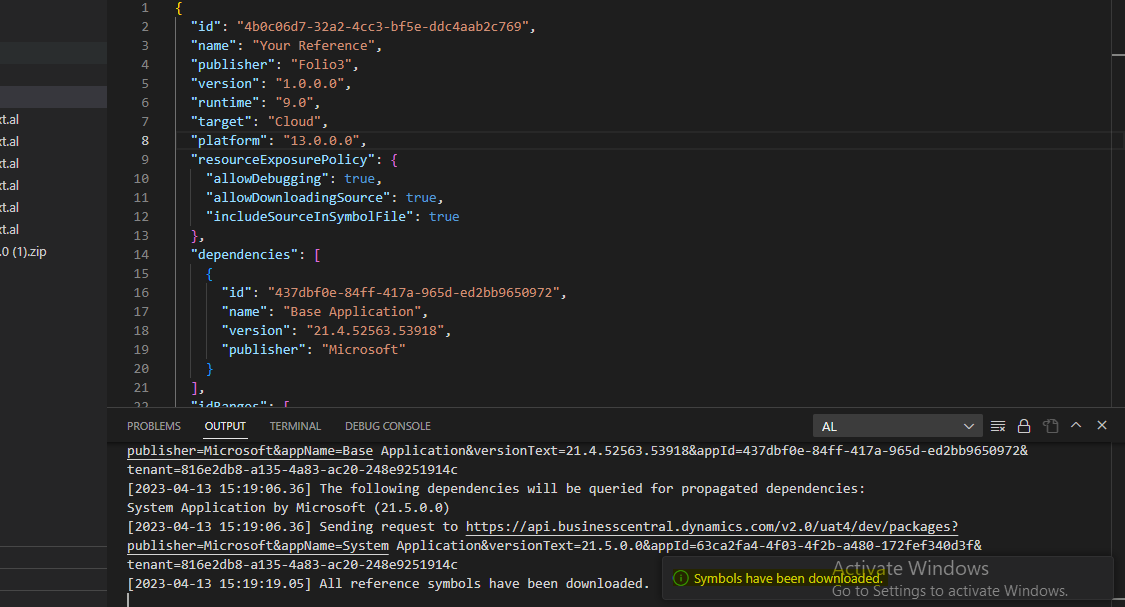
Now download symbols by selecting View-> Command Palette -> Download Symbols. If you are downloading symbols for the first time then VS code will ask for authentication like this:
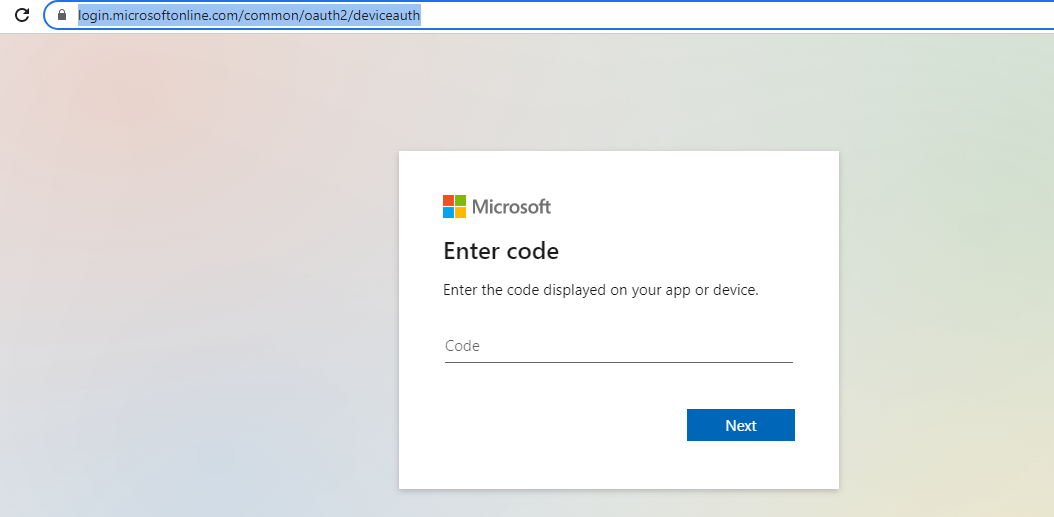
Select Copy & Open, this will open new browser window as below:
After successful login you can close the browser window and move to VS code, after couple of minutes symbols would be download and popup would appear like this:
Now press ctrl+shift+B from your keyboard this will build the project and create a .app file in the current directory.
In the next step we will deploy this .app file as an extension in our target business central environment.
3. Deploy .app file in Business Central
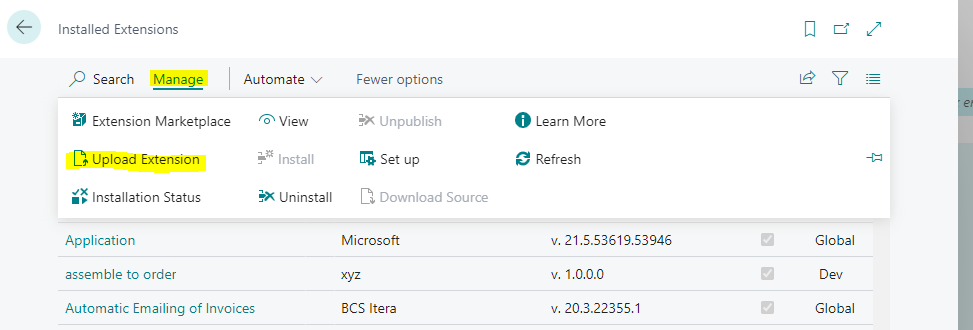
Open Business Central environment where you want to deploy your .app file, Go to Extension Management -> Manage -> Upload Extension. New popup window will appear.
Select three dots to select your .app file from your local directory and accept privacy policy as below:
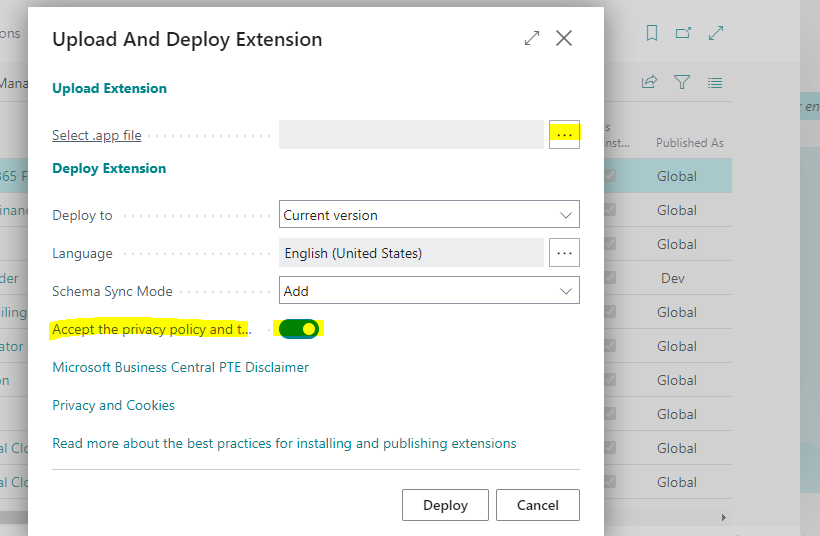
Then select Deploy, after 2 to 5 minutes your extension will be successfully deployed if there would not be any version or dependency issues. You can also check the Status of your Extension while installing from the Extension Installation status menu.
With that we have successfully exported the extension from the source environment to the target environment.