Getting Started
Hey everyone, today we will be looking at creating forms that displays data through multiple datagrids using multiple datasources. Since a single form utilizing a single datasource and grid is rarely a case when doing custom development in Dynamics AX, so being able to utilize multiple grids and datasources effectively can be quite handy.
Before we begin this is a brief overview of what we will be doing
- Create two tables having a one-to-many relation.
- Create a form with two datagrids
- Link the grids (via datasources) to show primary table data in first grid and related data in secondary grid.
Getting things ready
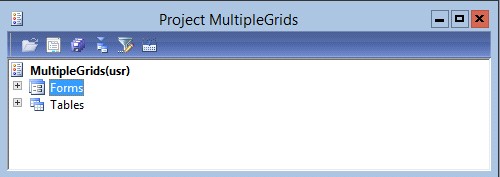
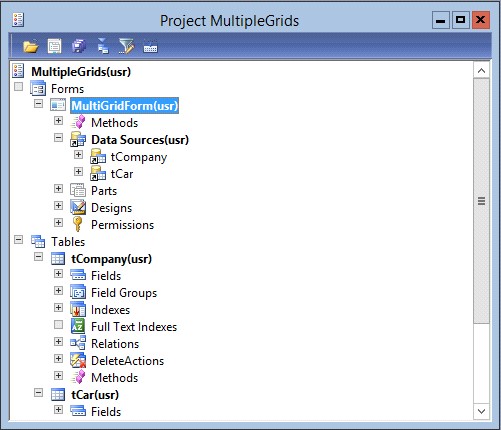
To start off I created a separate Project called MultipleGrids to keep things nice, clean and seperate. I added two groups called Forms and Tables (which will contain our form and couple of tables respectively).
Note: To add a group simply right-click the project node and click on ‘Group’ item. Change the ProjectGroupType in properties to ‘Forms’ and ‘Tables’.
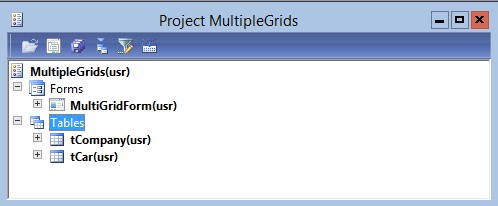
Right-click the Form group node to add a Form. I have named it ‘MultiGridForm‘.
Similary right-click Tables node to add two tables named ‘tCar‘ and ‘tCompany‘.
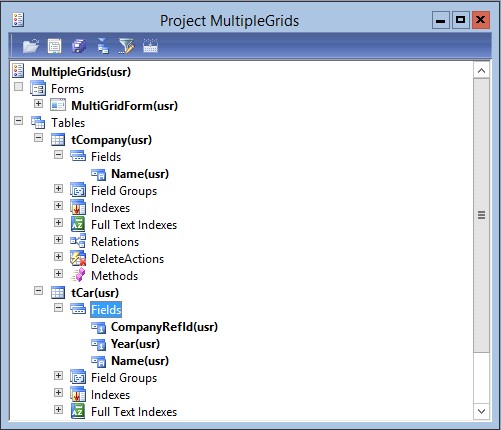
To keep things simple we will be adding only the Name(String) and Year(Integer) fields for the tCar table and Name(String) for tCompany.
To relate the two tables we will be adding a reference field called CompanyRefId(Int64) in the tCar table.
After adding the fields in the respective tables it should look something like this.
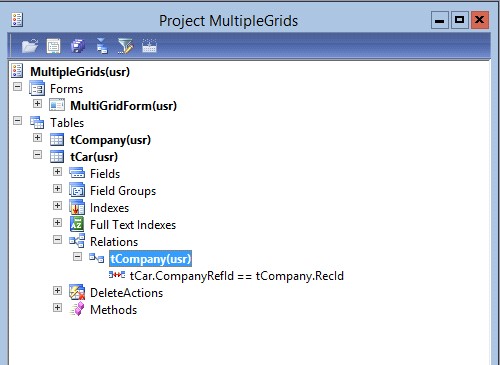
To implement the actual relation expand the tCar node. Right-click Relations node and click New Relation menu item. Rename the relation to tCompany (can be named according to your liking). Right-click the tCompany node within Relations node and select New->Normal and a node will be added.
Select the created node and in the properties menu change it like follows:

The Field contains the field being related to in the current table. The RelatedField contains the field of second table to which the relation is being formed.
After that the Relations node should look like this:
Since our tables are now complete it is time we used them to make a form. Drag and drop the tables to the DataSource nodes of the Form and our form will have its datasources.
Designing the form
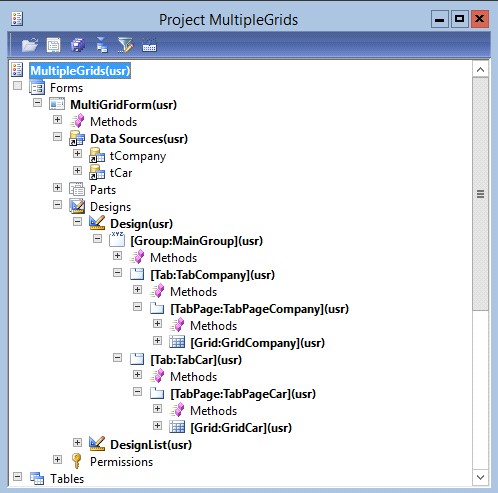
Lets start creating the design of the form. Expand the Designs node in the Form. Create a group named ‘MainGroup‘. Add two Tabs named ‘TabCompany‘ and ‘TabCar‘ respectively.
Add TabPages named ‘TabPageCompany‘ and ‘TabPageCar‘ to ‘TabCompany‘ and ‘TabCar‘ respectively. Add Grid for in each of the TabPages.
After doing these steps the Design node of your form should look something like this.
To add columns in the Grids drag the fields from the datasources and drop them in their respective Grids. It should look like this.
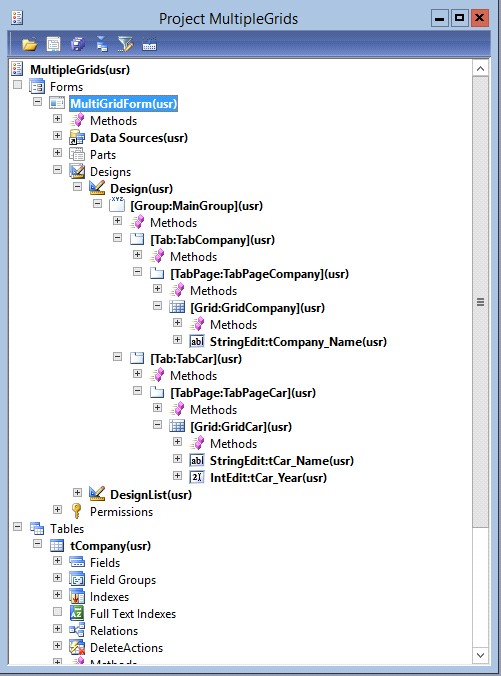
Note: Make sure the DataSource property in both the Grids is set to the correct datasource. Also you can change the Caption property in the TabPages to name the tabs.
Change the width property of the Grids to whatever value that suits your needs. I have set the Width property to 500.
Finally goto the Datasources node of the form and open properties of tCar datasource. Change the JoinSource property to tCompany.
Go ahead and open the form it should look something like this.
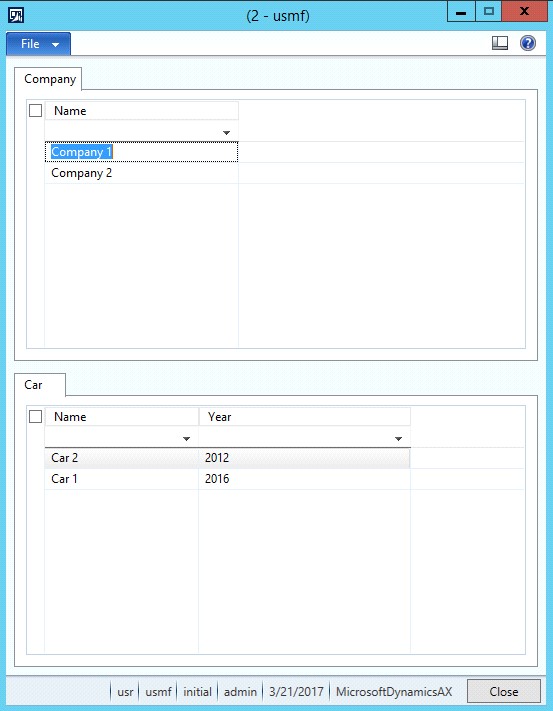
You can now create Companies and with each company you can Create/Read/Update/Delete the cars associated with the company.